03 February 2025
Key points for spreading protected urea
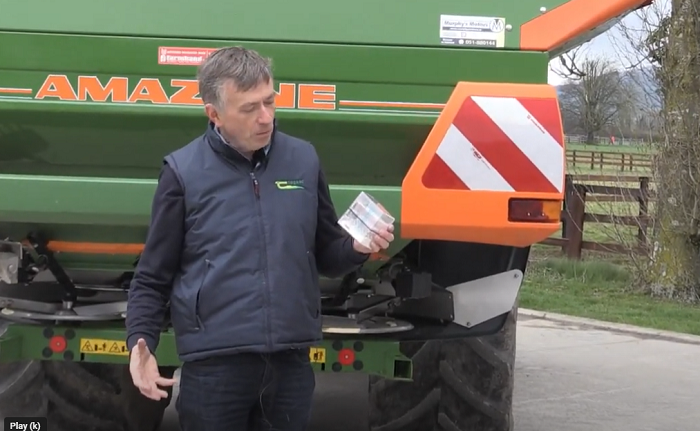
The ability to spread protected urea and the accuracy of applications were the topics of much debate over 2024. Before the fertiliser spreading season commences, Dermot Forristal, Teagasc Oak Park, shares some key tips to improve accuracy.
Urea is less dense than other fertiliser types. This can limit bout widths and will require spreaders to be set/adjusted to spread the product evenly. If you use a contractor, you must ensure that the spreader is set properly. There are two elements of machine setting:
- Rate setting or calibration: while vital, does not impact on how evenly it is spread.
- Evenness setting: the spread pattern of most spreaders can be adjusted to suit the fertiliser type and bout width.
The use of GPS controlled systems normally has no impact on the evenness of spread in the main field area.
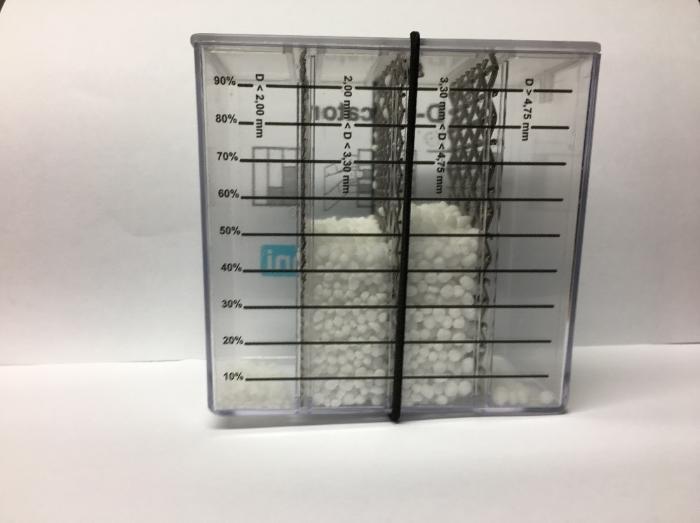
Figure 1. Use a fertiliser sieve box to size fertiliser granules with 90% of granules in the 2 to 4mm + range.
Key points for spreading urea
- Use a spreader that is capable of spreading urea at the desired bout width, and which is supported by a good database of setting information for a range of fertilisers, from the manufacturer. All of the major spreader manufacturers have test hall information that is essential for urea.
- Make sure all of the spreading components (vanes etc.) are in good condition.
- Purchase urea with good physical quality: larger particle sizes (90% in 2-4mm+ category), good particle strength (Ideally > 5kg crush force for good spread pattern, but always > 3kg).
- Avoid Urea blends (e.g. N and K together) unless there are independent test results that show satisfactory spread patterns with your machine model.
- Use the spreader manufacturer’s resources to get the correct setting for your machine by checking their database (app or on-line) for an exact or nearest match of the fertiliser type. Preferably use a sieve box, strength and density test equipment to characterise the fertiliser.
- Carefully set the spreader according to the manufacturer’s guidance, based on bout width and fertiliser characteristics.
- What is adjusted varies for different models; it may be: disc type; vane type and position; fertiliser drop point, disc speed, hopper angle, height over crop etc.
- Check the spread pattern if possible using purpose developed trays or mats.
- Note that ‘rules of thumb’ like ‘the last granules reaching the next tramline’ are not universal across machines, fertilisers or bout widths. You must follow the guidelines for your machine, with your fertiliser, at the chosen bout width.
- You may need to reduce your bout width, and generally if you have a choice on grassland, it is often easier to spread urea evenly at narrower bout widths, particularly if it’s windy.
In summary, you need a spreader capable of spreading urea, good quality fertiliser, the correct bout width and the correct spreader adjustments, to ensure even spreading of urea.
The above was adapted for use on Teagasc Daily from the article titled: ‘Tips for spreading protected urea’, which was first published in the Irish Farmers Journal Signpost Programme Focus.
Also read: Fertiliser planning: How did protected urea perform in 2024?
Also read: Why Protected Urea?